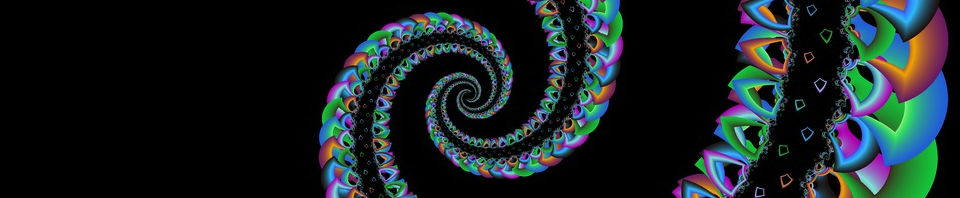
Getting back to the image we were looking at on page 1 of this lesson, there are actually an infinite variety of images we can
discover here simply by zooming in to different areas of the fractal. Here is one example (each steps represents two or three
clicks of the zoom cursor).
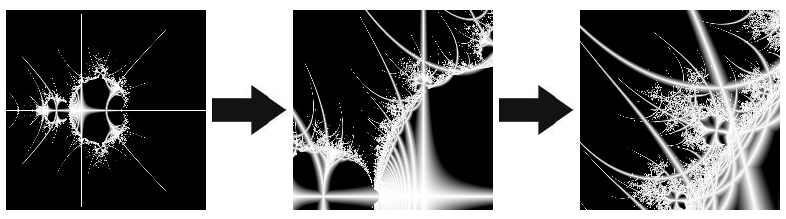
Please keep in mind that the window you are using to explore is small and doesn’t use anti aliasing, so the image you are viewing might be more interesting than you realize because you can’t see all of the detail. To demonstrate, we are going to take another look at the third image above, but rendered in better quality. Simply choose “Render Image…” from the Fractal menu and in the resulting dialog box, change the dimensions of width 200 and height 200 each to 600, and check the “Anti-Alias” check box, so the dialog box looks as follows:
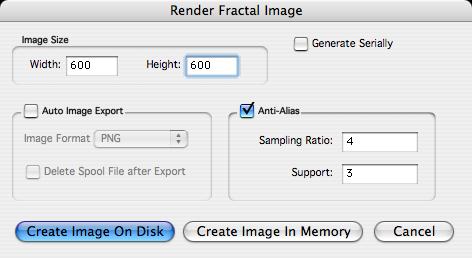
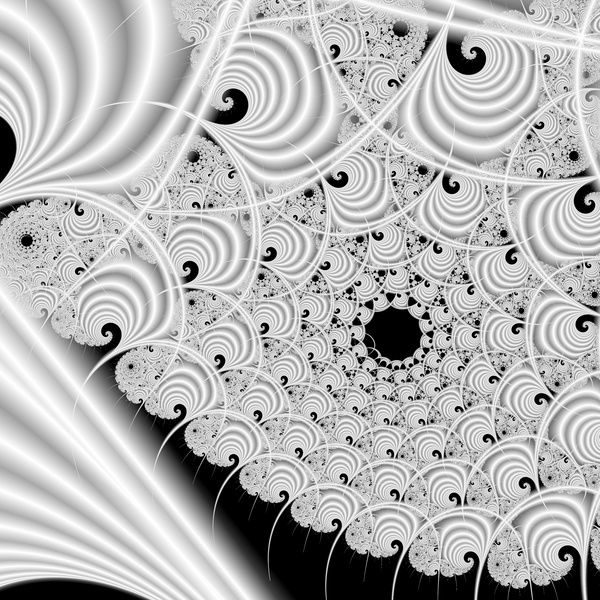
Click “Create Image In Memory” and you will get the following image:

Quite an improvement over the original image! Remember that no matter what kind of fractal image you are making, the final step
will always be to use the “Render Image…” command to get an image with anti-aliasing and preferably in as large a size as you
can manage.
Here’s another possible sequence, and this one illustrates the fact that it sometimes pays to zoom pretty far in — you’ll often
find detail that you didn’t suspect existed.
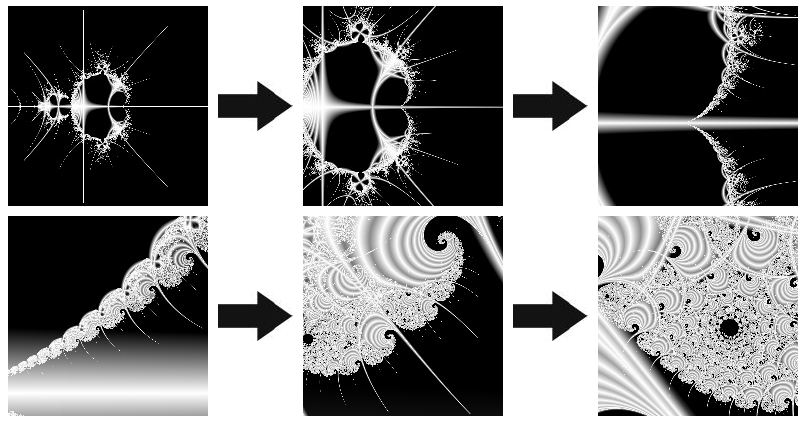
…and we render the final image just as before to get:
As explained on page 2, other orbit trap shapes can be used. On the next page of this lesson, we will discuss some of the most
important points in using these shapes.