We haven’t done much with the square orbit trap so far, so let’s try to find an interesting image with this. Also, let’s try the “split by axis” region split for variety.
Bring up a new fractal window. Go to the Orbit parameters page and check the orbit trap box, then pick “Square” in the Trap menu and “By Axis (Real/Imag)” in the Region Split menu. Be sure to set the outer extent to 0.1 and click OK.
Pick “All Black” in the Palette menu to set the background to black. Gray is not the best color for this kind of region split, so we will switch it to yellow. Open the Color Map Editor in the Window menu and pick “Trap [Orbit Real]” in the Region menu. Now pick “Yellow Gradient” in the Palette menu. Close the Color Map Editor.
Now choose the “Preview” window in the Window menu and we will start looking.
In the Julia window containing the image we finally picked, we do a couple more things to tweak the image:
We zoom in on the upper half to see it in more detail.
We go to the Orbit parameter dialog again and change the Multiple menu to “Use First Captured.” You will recall from a previous lesson that this often enhances an orbit trap image.
We could also adjust the outer trap extent, but we won’t do that now. (But don’t forget that you can often improve an image that way.)
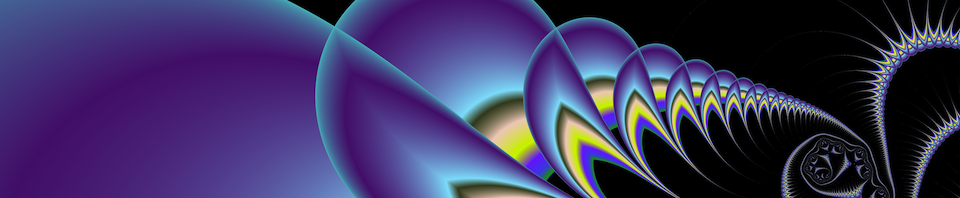
We render the resulting image at 600×600 anti-aliased to get:
But wait! We’re not done! An image like this has many possibilities that can be brought out with different color maps. We will go into this in more detail in the next section, but right now let’s try a couple of simple variations that can lead to a dramatically different appearance.
Bring up the color map editor window. We are going to use it to do try some variations on the region named “Trap[Orbit Real].” We aren’t even going to change the color map of the other region.
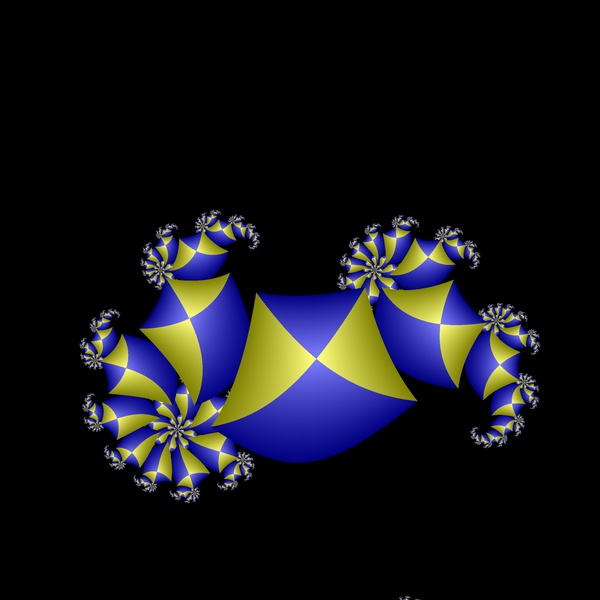
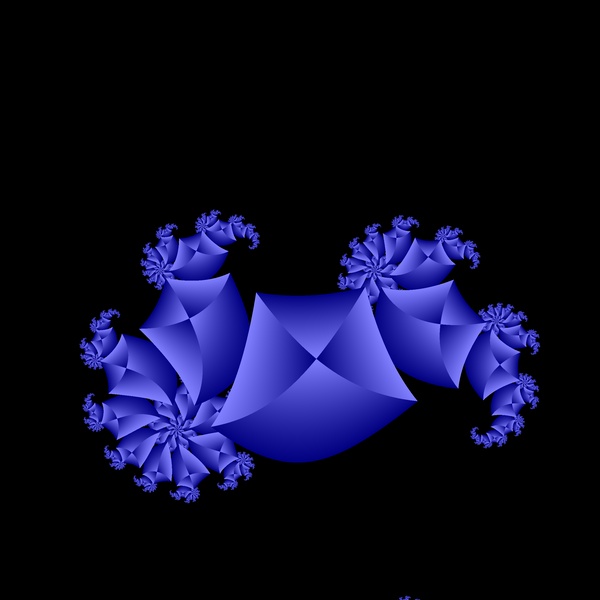
Choose “Trap[Orbit Real]” in the Regions menu of the Color Map Editor. Now change the color map to Blue Gradient by picking that color map in the Palette menu. The resulting image, when rendered 600×600 anti-aliased, is:
When you use the same gradient for both region, the square trap in particular yields this nice star effect. An even more dramatic effect can be achieved by reversing the direction of the gradient. To do this, click on one of the yellow triangles at either end of the color map bar in the color map editor — the one on the left for instance. The controls below the bar change to look like this:
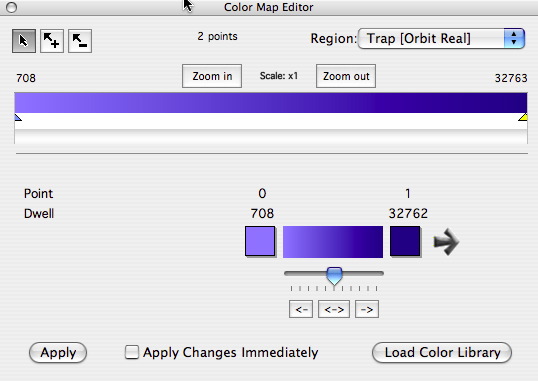
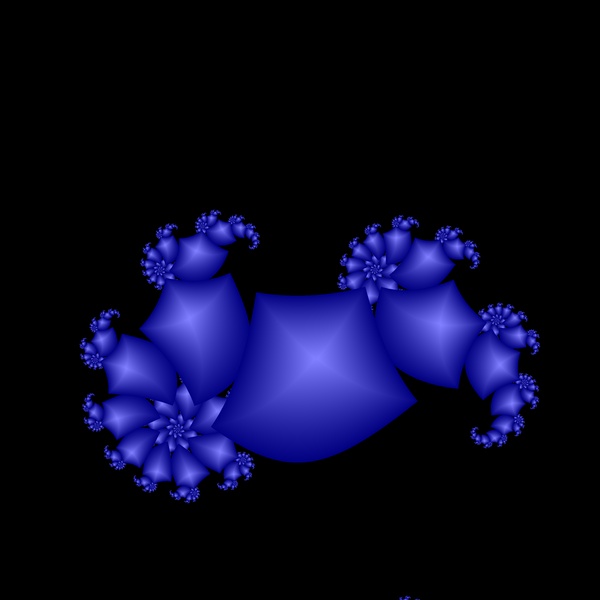
Below the slider control are three buttons labeled “<-“, “<->”, and “->”. The middle one, labeled “<->” will reverse the colors used at the ends of the gradient. Click this button now, then click the “Apply” button. The resulting image, rendered 600×600 anti-aliased, looks like this:
The gradient reversal makes it look (to my eyes anyway) as if the square has become a three-dimensional surface, sort of like a won-ton wrapper, wrapped around on itself. The gradient reversal trick is effective with many different region split images.